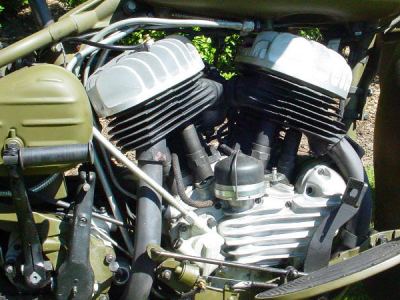
Restoring a WLA has never been easier as far as information is concerned. There are plenty of books, websites, forums, etc.... around to get you on the right track! This page is based on my experiences and I hope it will be of some help getting another Liberator back on the road...
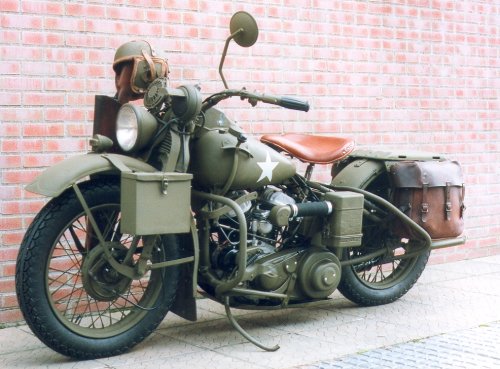
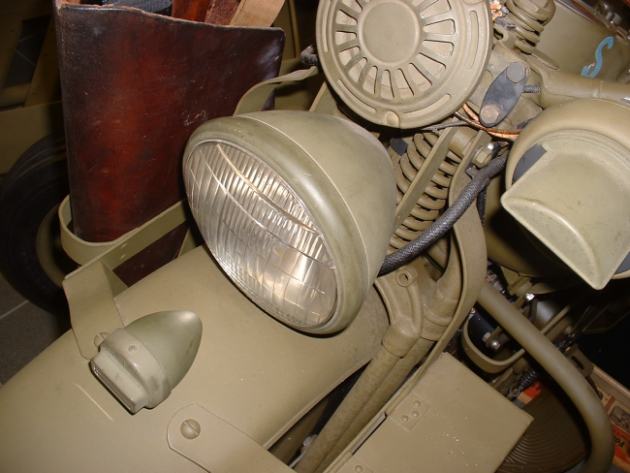
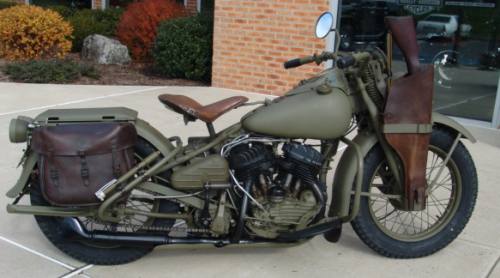
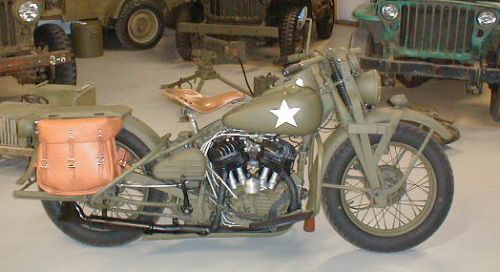
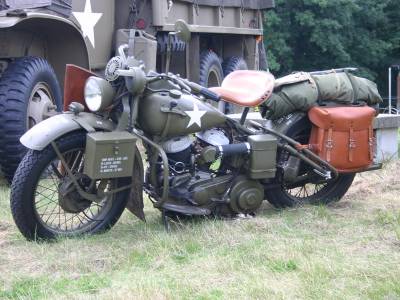
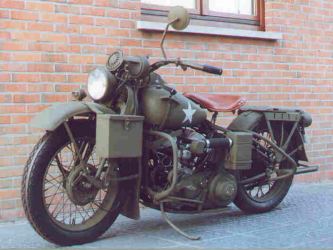
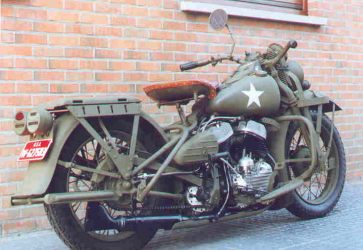
My "Liberator" Harley-Davidson 42WLA31854 DoD Early 1943
How to Start
Planning on
buying or restoring a 42WLA? First thing to do is look at as many other bikes as
possible.....
Buy books and manuals! Go to Military Vehicle and Motorcycle Shows and take lots
of photographs.... Get in touch with other owners, join a Club or search the
internet for more information and BUY BOOKS!
You can never have too much information!
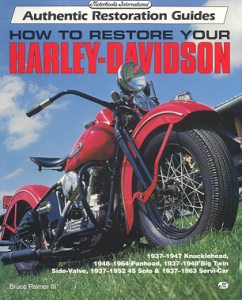
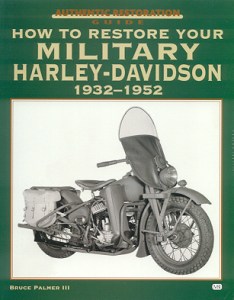
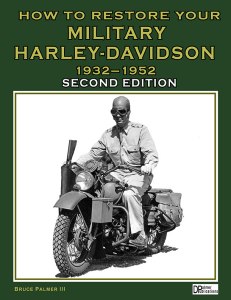
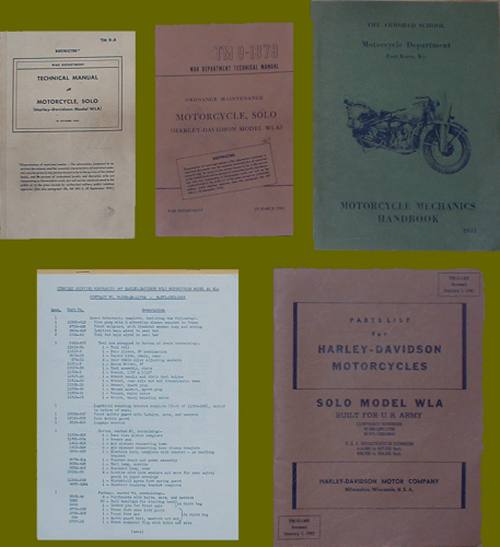
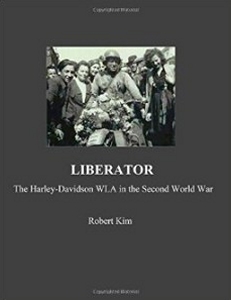
The basic books
for every WLA enthusiast are Bruce Palmer's restoration guides..... The big book
first came out in 1994 and was recently published as a second edition. It is filled with interesting information on how to restore
vintage Harley-Davidson motorcycles.
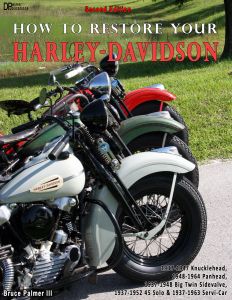
The military book lists all details
of bikes supplied to the military between 1932 and 1952. It was
first published in 1998 and sold out quickly. A second and seriously enhanced
edition was published in 2015. These books are
'Must-Haves' and can be ordered from his website at:
http://www.howtorestoreyourharleydavidson.com
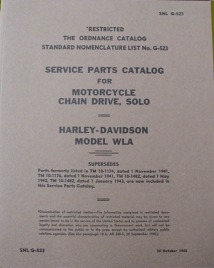
Essential for WLA operation, maintenance and restoration are the US Army Technical Manuals issued with each WLA which are available in reprints from most parts dealers and HD-dealerships. The basic Technical Manuals are shown below. They are all reprints, and you'll want these to avoid getting black grease marks in your expensive original copies.....
|
|
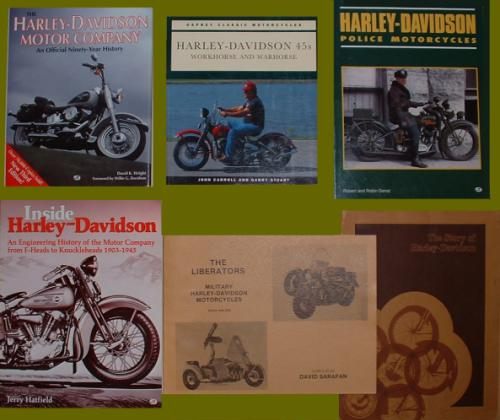
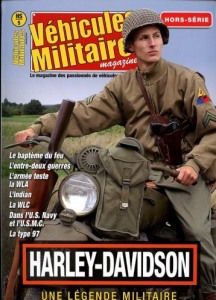
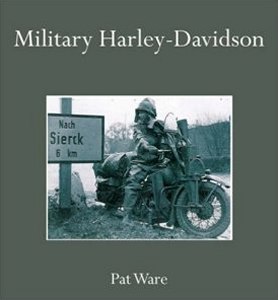
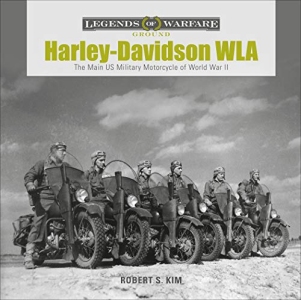
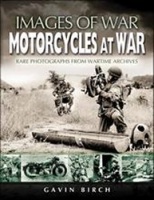
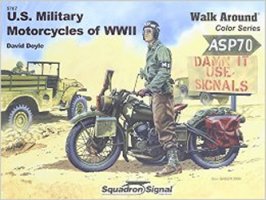
In recent years several books have been published about the 42WLA Model and various general Harley-Davidson related books have photos and information about the WLA. Even if it's not a pure military book, sometimes the pictures showing finish, tires and other details make it worth purchasing. Sometimes WLAs appear in motorcycle magazines, so a visit to the book shop from time to time is worth your time.
|
|
The books and
manuals will tell you what parts are missing from your bike.Every bike can
be restored, but original parts are becoming hard to find and are expensive!....
If you're on a budget,
take it slow but do it right!
I spent nearly 5 years restoring my bike, and this was mainly due to financial
reasons..... But everything was done the right way...
Something to
consider when buying a restoration project is to be sure you have a correct
engine number. Originally WLAs do not have a frame number and are identified by
the engine number only. An incorrect engine number may cause problems if you
ever decide to sell the bike!
If you want a WLA, then do not buy a WLC.... A WLA with a WLC engine or other
WLC parts will never be a true WLA and you will never be happy with it. A WLC
deserves to be restored to WLC Specifications. There are hardly any nice
restored WLCs around.
A complete restoration requires a lot of tools and good planning. Bruce Palmer lists a comprehensive list of basic tools in his big book. You will need at least several sets of correct wrenches (for us Europeans out there; this means US sizes!!), screw drivers and much more. A set of UNC and UNF taps and dies will come in handy as it is best to restore the bike with the correct size bolts and nuts. You will also need several special tools for engine and transmission overhaul if you want to rebuild these yourself..... Depending on the condition of your parts; you will need more tools and machines.....
After complete dis-assembly of the bike, make an inventory of what you have and what parts are missing. Make a list of what you need to purchase. Try to restore or overhaul one item at the time. Do not throw all loose parts in one box, but organize your work. Restore one item or group at a time and make sure each part is properly painted and finished before you start on a next object. Pack each finished item away with the correct nuts and bolts or other hardware; this will make it so much easier when you start assembling your bike.
The Harley-Davidson Parts Numbering System
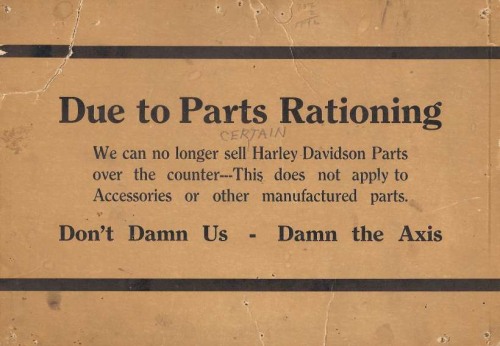
Roughly 60.000 WLA motorcycles were made during WW2 with additional spare parts to assemble another 30.000. Just about the entire Harley-Davidson part inventory went to the Military during the war which resulted in rationing parts for civilian use.
|
|
The 10" x 7" Parts Rationing Sign above was displayed in HD dealerships during the war and left no doubt who was to blame for the lack of parts... |
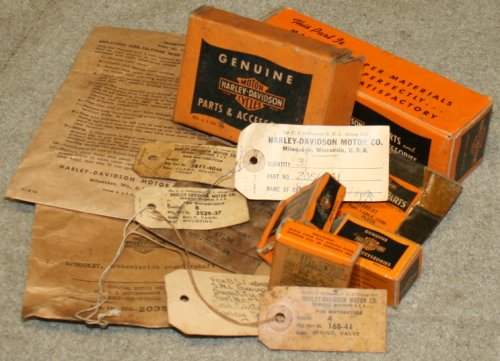
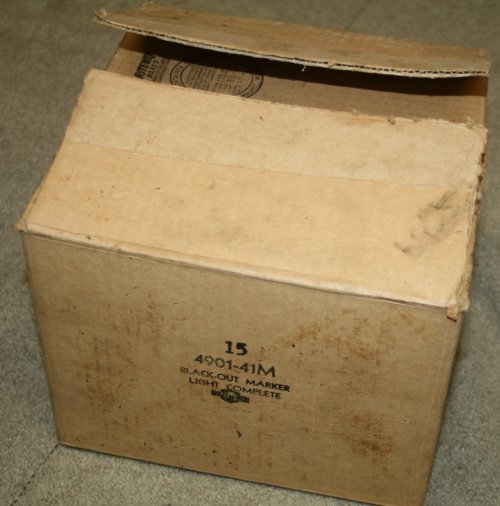
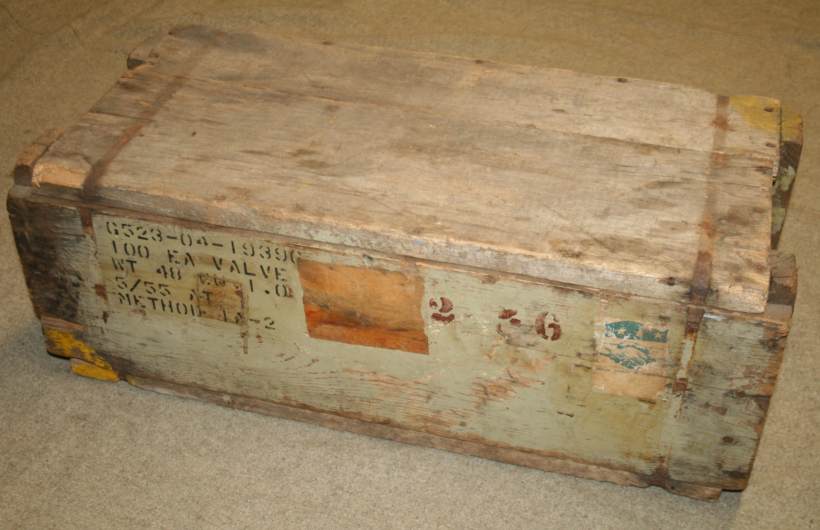
WLA Spare Parts were packed individually or in small quantities and shipped with labels, in boxes or crated depending on the quantity or size of the parts. These tags, parts wrappers and boxes are collectibles in their own right....
|
|
The
above pictures show a variety of labels, wrappers, boxes and a crate
containing WLA Spare Parts. |
Luckily thousands of those original, NOS (New Old Stock = Original Unissued/Never Used )spare parts have survived and are now available from specialised dealers, Ebay, swap meets and flea markets. Furthermore most parts are now being reproduced.
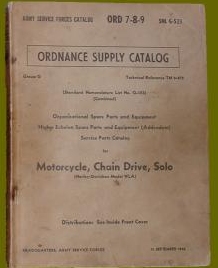
It is important to understand the Harley-Davidson parts numbering system to know exactly what part you're looking for. You will need a Parts List or US Army Ordnance Supply Catalog SNL (Standard Nomenclature List) G-523. These list all parts with their original HD Part Number, which makes it easier for you to explain what you're looking for and will help you determine what part is packed inside that brown sticky lump of cosmoline, identified only by a paper tag stating a number in typical Harley-Davidson style.
|
|
HD Part Numbers follow this pattern: 1234-40A. The first numbers in the part number is the part itself. The numbers after the hyphen indicate the year it first came out. If this part has a letter following the indicated year, then it would still be the same part but with an upgrade of some kind. Upgrades are generally indicated by letters A, B,C, etc and specific military equipment is indicated by the letter 'M'.
Some examples:
Part 3702-40M is Mudguard,Complete,Front as used on the 42WLA until approximately
42WLA53000 when the second pattern Mudguard was introduced. This was Part
3702-42M since it was designed or approved in 1942.
Part 3571-37A is the Pipe, Oil Pump Feed introduced in 1937 and the A indicates
an upgrade.
The Gas Tank has number 3502-40BM which means the tank used on the 42WLA was
introduced in 1940 and has since undergone changes to fit the 42WLA (Letters
'BM'), but the military tank 3502-40BM will also fit all models that were
originally equipped with the standard tank 3502-40.
Hypothetically, if the part number were to change from 3502-40BM to 3502-95,this
would mean it changed so dramatically starting in 1995 that you must use that
part from 1995 to present while the -40BM number would fit 1940 to 1994
models.
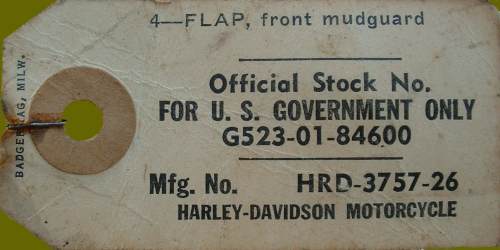
|
A typical
example of a Spare Parts' Tag which was attached to an original front
mudguard leather flap. |
Nuts, bolts, washers (common hardware) do not fall into this part number system. They typically have numbers only (i.e. part number 0207 is a washer) with only some exceptions having a letter suffix.
Using the correct part number will help you search dealers' catalogs and buy the correct part. It will make it easier for a parts' dealer to know what you're looking for and make for swift and easy shipping of parts.
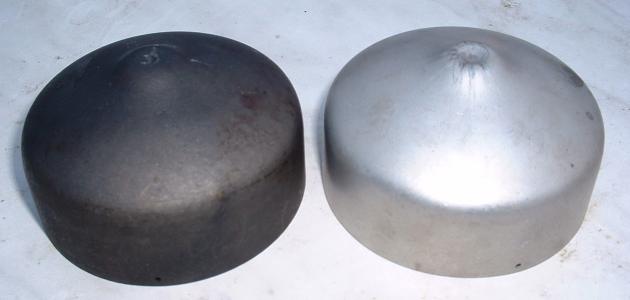
Finish of Parts
Parkerized, Cadmium Plated, Olive Drab Paint,....... You will come across all of these terms during your restoration process. Upon delivery from the factory, each part had its own specific finish. Looking at original WW2 photo's can tell you which part has which finish and Bruce Palmer lists the correct finish for every part of every type in his military book. This alone is reason enough to get that book. For a Factory-Class restoration, all parts need to be finished in the correct shade or color. Of course WLAs were no show bikes, so there were no chrome parts. Metal parts were either parkerized or cadmium plated. Depending on which type 42WLA, similar parts had a different finish.
|
|
Other parts were either natural finish, bright nickel plated or painted in different colors (Olive Drab, Silver, White...).
All WW2 WLAs were painted Olive Drab, even those supplied to the US Navy and US Marine Corps.
Like on most pre-war US Army vehicles; up to and including the 40WLA, the olive drab
paint used was a high gloss color (QM Specification ES-N°362, Enamel,
Synthetic, olive drab, high gloss) but from the 41WLA onwards, the paint used by the US Army in WW2
was absolutely flat (QM Specification ES-N°474, Enamel, Synthetic, olive drab,
lusterless flat)!
This type of paint is available from most military vehicle
parts dealers and is very easy to work with. A lot of restorers do not like it
because it's difficult to maintain and scratches easily. Personnaly I love the
way it ages and after a couple of years it has that original look.
|
|
Of course parts
that are not painted are more prone to rust. A bike that is ridden regularly in
all kinds of weather will have more painted parts than a show bike. Also
a repainted original part is sometimes preferred over a parkerized or cadmium
plated reproduction part. It has become harder and harder to find companies that
still refinish parts in the correct manner, especially in Europe. Bruce Palmer
describes a method of DIY parkerizing in his big book, but I know from
experience it is not that simple!!
Even if not every part has the factory-finish, a realistic mix of painted and parkerized
or cadmium plated parts gives your bike that original look.
And then of
course there was the Army way of conserving metal..... Paint, Paint and.... Paint......
Once a bike was maintained in the unit's motorpool, you can be sure whenever a
part showed even the tiniest amount of rust, it was painted olive drab.... Some
things never change......
It is not quite clear whether spare parts issued thru the Ordnance Corps
Supply Chain were painted after full assembly and
before crating..... But I recall seeing a complete front fork in the wooden crate
for sale at a military vehicle show in England in the late 1990's. It was
completely painted OD....
|
|
|
|
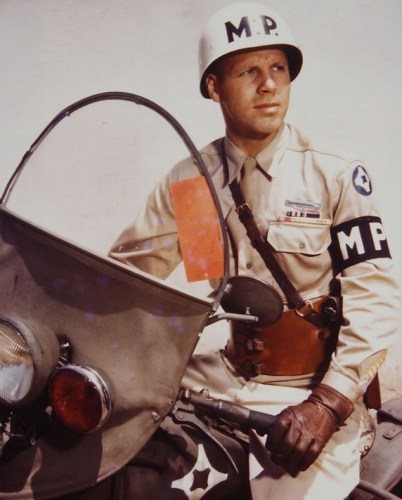
Parkerised Hardware?
Sgt Hugo Arne, a
Military Policeman with the Fort Benning Motor Squad, poses on a WLA.
Sgt Arne served with the 32nd Infantry Division for 32 months in the
SouthWest
Pacific earning a Silver Star during that period. He served as a rifle squad leader and
later with the Division MP Detachment through the New
Guinea and Leyte Campaigns. On the bike, the Black out Driving light has been replaced with a chrome red pursuit light and the insignia of the 4th Service Command has been painted on the tank. Interestingly, visible hardware seems painted olive drab, especially the round head screws holding the luggage rack to the rear fender. Food for discussion on the correct finish of bolts and nuts..??.. |
|
Wartime Repaints... At the end of the war, when Traffic Control and visibility became more important than tactical conditions, several Military Police motorcycles were repainted in white. An MP
from an unidentified MP unit poses on a Type III WLA on which white
paint was probably applied with a brush. The Black out Driving light has been replaced with a red pursuit light and Military Police markings have been added in black. Inspiration for someone's future restoration project..??.. |
|
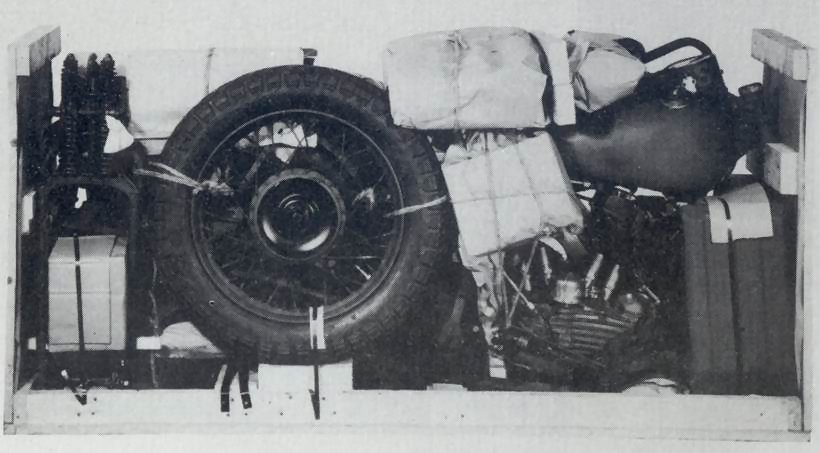
The Ultimate Dream: a WLA in a crate....
If only someone
could find one of these; there would be no discussion on parts finish....
The two images below show a Type V about to be uncrated and assembled. These
images were published in David Sarafan's 'Liberators' Book and Bruce Palmer's
Military Book....
How many items can you spot?
|
|
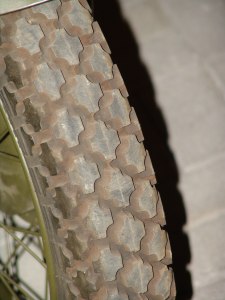
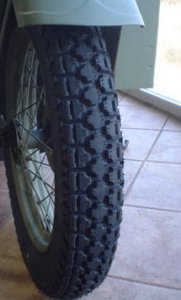
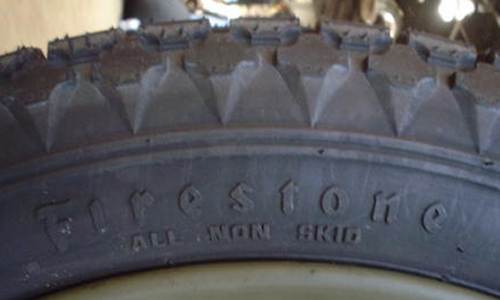
Tires
As described
earlier, WLAs left the factory fitted with Firestone Sportsman Tires in 400-18
size. These original tires are extremely rare and are not safe to ride anymore.
A lot of restored bikes are fitted with Dunlop K70 tires which are very good in
all kinds of weather. These tires are usually preferred by riders that ride many
miles per year....
However for those that prefer a more authentic look, the Coker Tire Company now
sells a reproduction Firestone All Non Skid (ANS) type tire.
Compared to Sportsman Tires, it's slightly different as the Sportsman has two
extra rows of cross-lugs,
but the ANS looks very convincing.
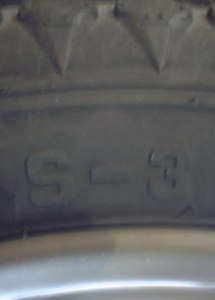
An original wartime Firestone ANS tire, was found on
a pre-war French Army Indian CAV-340 by Martin Bogaert a couple of years ago and
the same type may well have been used on WLAs too.
Coker also makes a very nice Good Year 'G3' Deluxe All Weather tire.
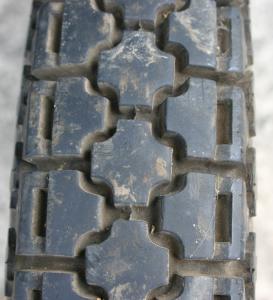
Left: An original
Firestone Sportsman Tire fitted to the WLA at the Luxemburg
National Museum of Military History at Diekirch
Right: Martin Bogaert's original Firestone ANS Tire from an Indian CAV-340 delivered to the
French Army in 1940.
It is being accurately reproduced by the Coker Tire Company.
Phil Suttile fitted the Coker-Firestone ANS-tires to his Type IV and they look really good!
Photos: Phil Suttile
These tires are
available from Coker thru their site at:
Firestone
ANS Motorcycle Tires
The Good Year 'G3' Deluxe All Weather is also available:
Classic
Cycle Diamond Tread
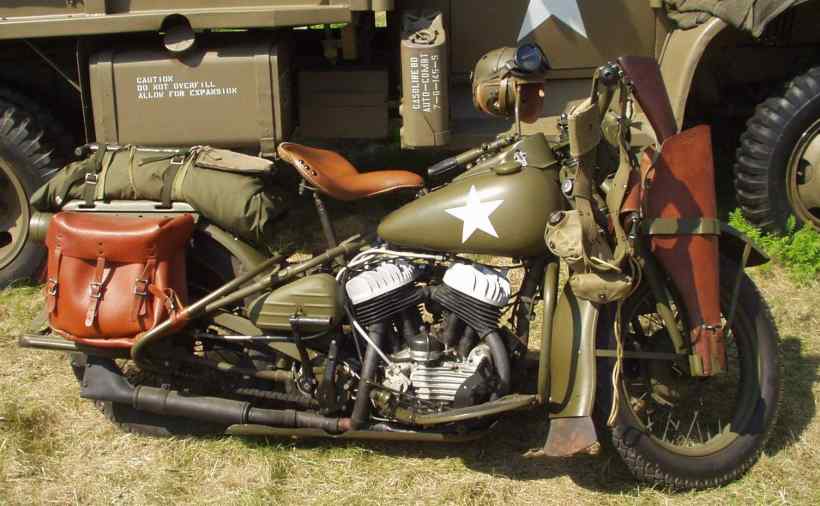
Leather Equipment
Original leather saddlebags have become very hard to find, especially in usable
condition. They are therefore very expensive.
There are extremely well made reproductions around, some of which are shown on
bikes on this page....
The leather seat on the large solo saddle is usually completely worn out. It is difficult to repair as leather parts of the seat are sewn together after being riveted to the saddle pan. Again nice reproductions are available. WLA saddles were brown and had three rivets on each side to protect the leather from chafing. WLC saddles did not have these rivets.
Leather mudflaps were fitted to the front mudguard and both legshields. These were made from brown cow hide.
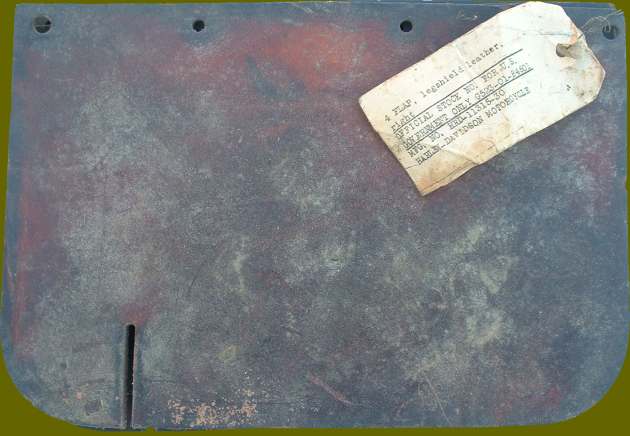
A set of 4
unissued flaps for the right legshield show the original brown finish of issued
leather parts.
With age the leather has become rather hard and would probably crack when used
for restoration.
The parts are identified by the paper tag showing description and number of the
part furnished.
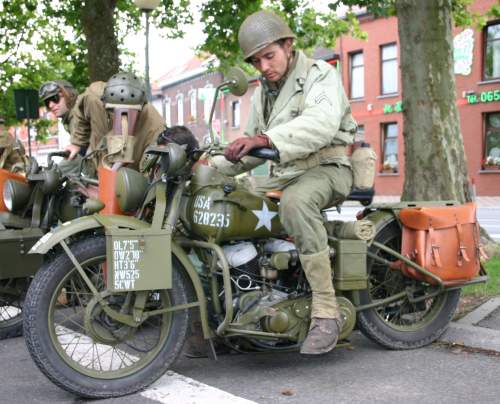
Correct US Army WW2 Markings: the finishing touch....
Some truly wonderful restorations are completely ruined by incorrect or excessive markings. Correct WW2 style markings depend on the time period, unit and theater of operations the restored bike would have been used in. Best is to use WW2 Army Regulations (AR 850-5), Tables of Organisation and Equipment (TO&E), and period pictures as reference to verify which units were equipped with WLA Motorcycles and how markings were applied to them.
Below are some examples of correct finishes and markings on restored bikes...
Kent Chipman of Texas restored his Type III WLA using Bruce Palmer's book as reference. The result was outstanding. He won the Best of Show Award at the 2004 MVPA Convention in Mobile, Alabama and was awarded Master Class Winner at the 2006 MVPA Convention at Dayton, Ohio. The bike is shown on display below; note the many dull gray parkerized parts.
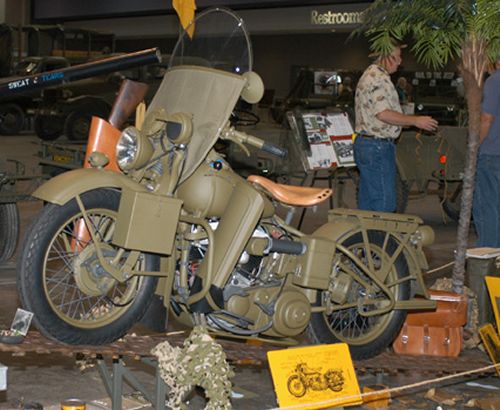
Photo: Kent Chipman
Steve Gregori's Type IV was restored by www.resurrectioncycle.com and the result looks magnificent.
Photos: Steve Gregori
Type III 42WLA35730 was restored to factory-specifications in Belgium in 2005-2006 and at the time these pictures were taken it was owned by the chairman of the Belgian Military Vehicle Collectors Club: Historical War Wheels. A maximum of NOS (New Old Stock) parts were used and the bike is outstanding.... It has since been sold to an unknown rider.
Photos: François Cools
Sometimes you
only need a small detail to stand out in the crowd...
The August 2006 edition of 'Tanks in Town' in Mons, Belgium saw the largest
gathering of WLA/WLC bikes in the world. Some were poor; but others were very
nice restorations. I was attracted to one bike in particular. Frenchman Laurent Chuppe
had correctly marked and painted his Liberator. It turned out this site had been an inspiration to
him......
Note the painted headlight and markings on both front and rear fenders. The Blue
Drab paint used is Humbrol Modelling paint
Whether or not you like the difference in finish and shade of paint shown on the restored bikes above is a matter of taste and personal preference. However this is how they were made and left the factory...
And US Navy WLAs?...
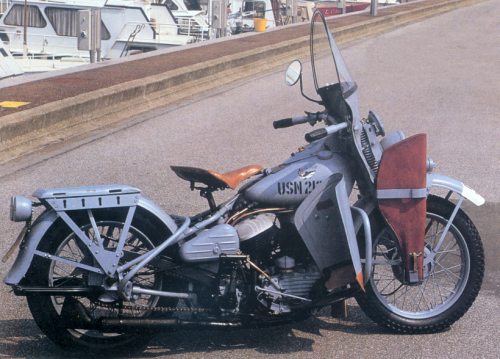
Photo: Alain Henri De Frahan (VMI
Magazine 1985)
A rather well
known WLA restored in Belgium in the early 1980's.
While it's a wonderful bike, the US Navy Gray finish is not historically correct
as USN WLAs were obtained in Olive Drab livery straight from Army sources.
One could argue the bike could have been repainted by the Navy, but not all of
the parts would have been repainted so neatly then....
WLA Links for Info & Parts
Living in
Europe, I got most of my parts from dealers in Holland.
Here are some of my
favorite parts dealers:
Jan Willem BOON's Vintage HD Parts (NL)
Lots of Liberator Parts from Michel Clements (NL)
More Parts from 45" Parts Depot (NL)
www.resurrectioncycle.com (US)
WLA Wiring and more from MV-Spares (AUS)
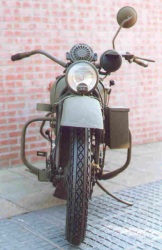
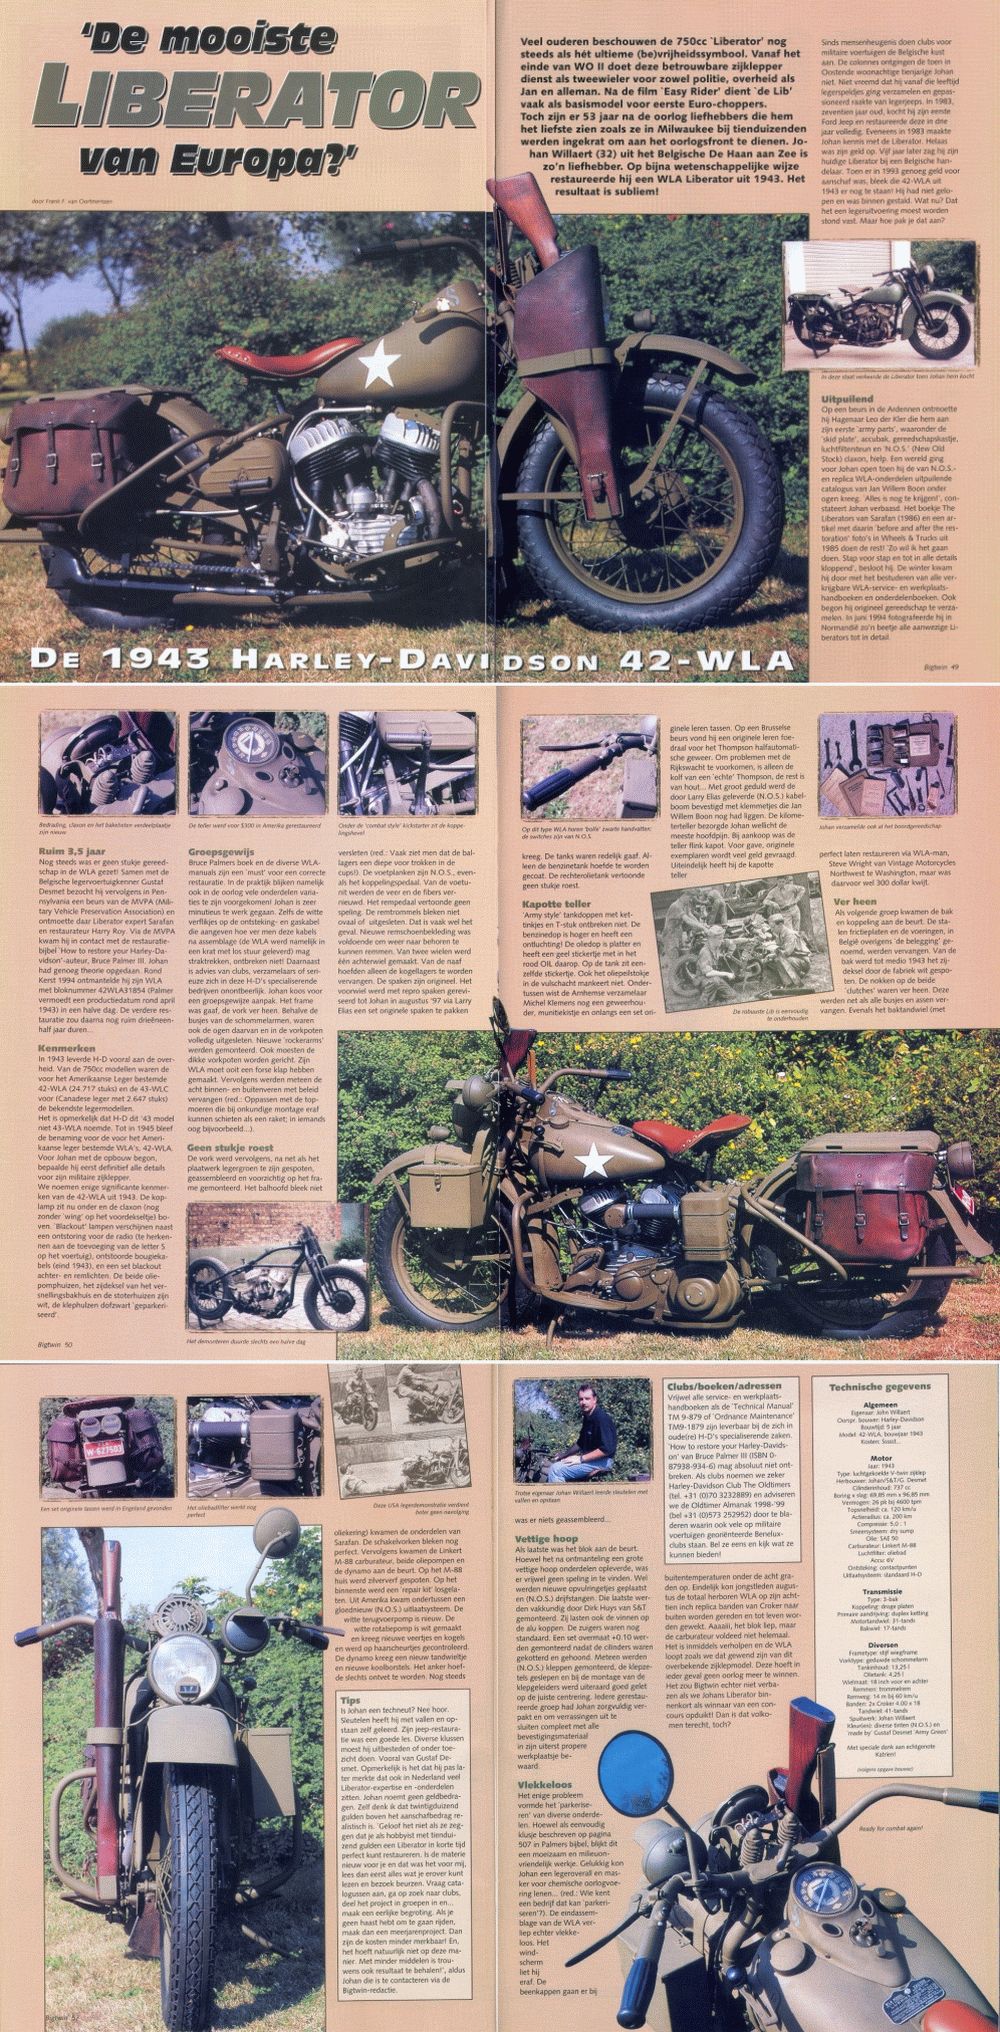
42WLA31854
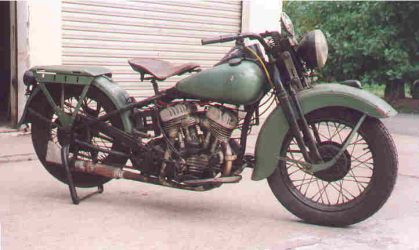
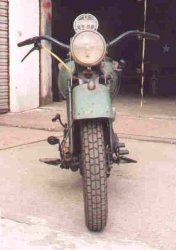
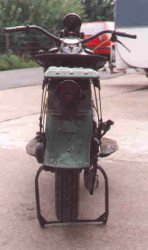
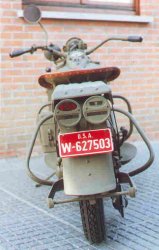
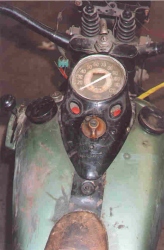
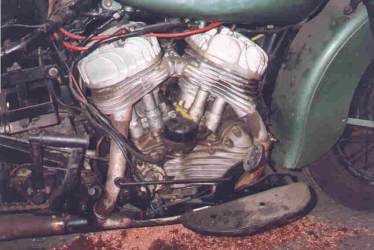
After restoring my GPW Jeep in the 80's, I started looking for a HD WLA military motorcycle. After the fall of the iron curtain in 1989, lots of ex-military bikes from Russia and Poland found their way into European collections and I went to see several of these. Most of these bikes were in very poor condition. Then I located 42WLA31854 in Brussels, Belgium in August 1993. It had started life as a Type III 42WLA in early 1943 (probably in January) and was shipped to Europe where it was to stay. After the war it was 'demilitarised' and used extensively in Belgian civvy-street until about 1975 when it was put aside. Nearly all miltary equipment had been removed; the bike was fairly original but in need of a complete rebuild.
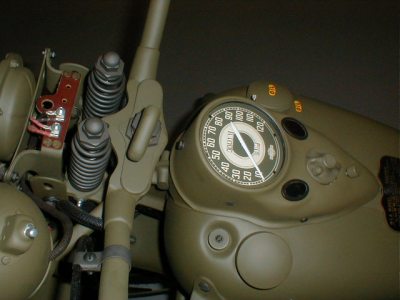
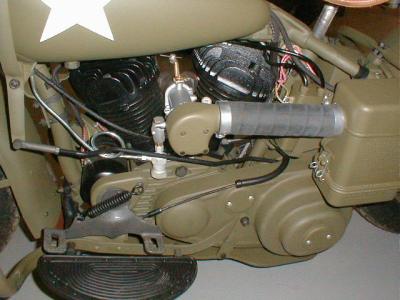
The pictures before restoration were taken on September 5th, 1993 shortly upon arrival at home of the bike and the other ones on May 30th, 1998 following complete restoration.
My Liberator was featured in an 8-Page article in the Dutch Motorcycle Magazine 'Big Twin ' Issue 141 of October 1998.
Click on the image to read the
article in Dutch